I suppose you might have thought about adding a bit of Google’s magic to your WordPress site. Well, you’re in luck! Today, we’re diving into the world of how to embed a Google Form in WordPress. It’s like adding a secret ingredient to your website recipe – it just makes everything better!
Embedding Google Forms into your WordPress site is like giving your website a superpower. It’s not just about collecting information; it’s about doing it in style – the Google style!
Whether you’re gathering customer feedback, conducting surveys, or just letting visitors RSVP to your annual World’s Best Cupcake contest, Google Forms seamlessly integrates this functionality into your site.
Now, you might be thinking, “Sounds great, but I’m no tech wizard.” Don’t worry! You don’t need a Hogwarts degree to embed Google Forms in WordPress.
It’s easier than convincing a cat to get off your keyboard (and we all know how that goes). With a few clicks here and a copy-paste there, you’ll have your form up and running in no time.
So, grab your digital wand, and let’s get ready to add a sprinkle of Google’s functionality to your WordPress site. By the end of this, you’ll be embedding forms like a pro!
What is Google Forms?

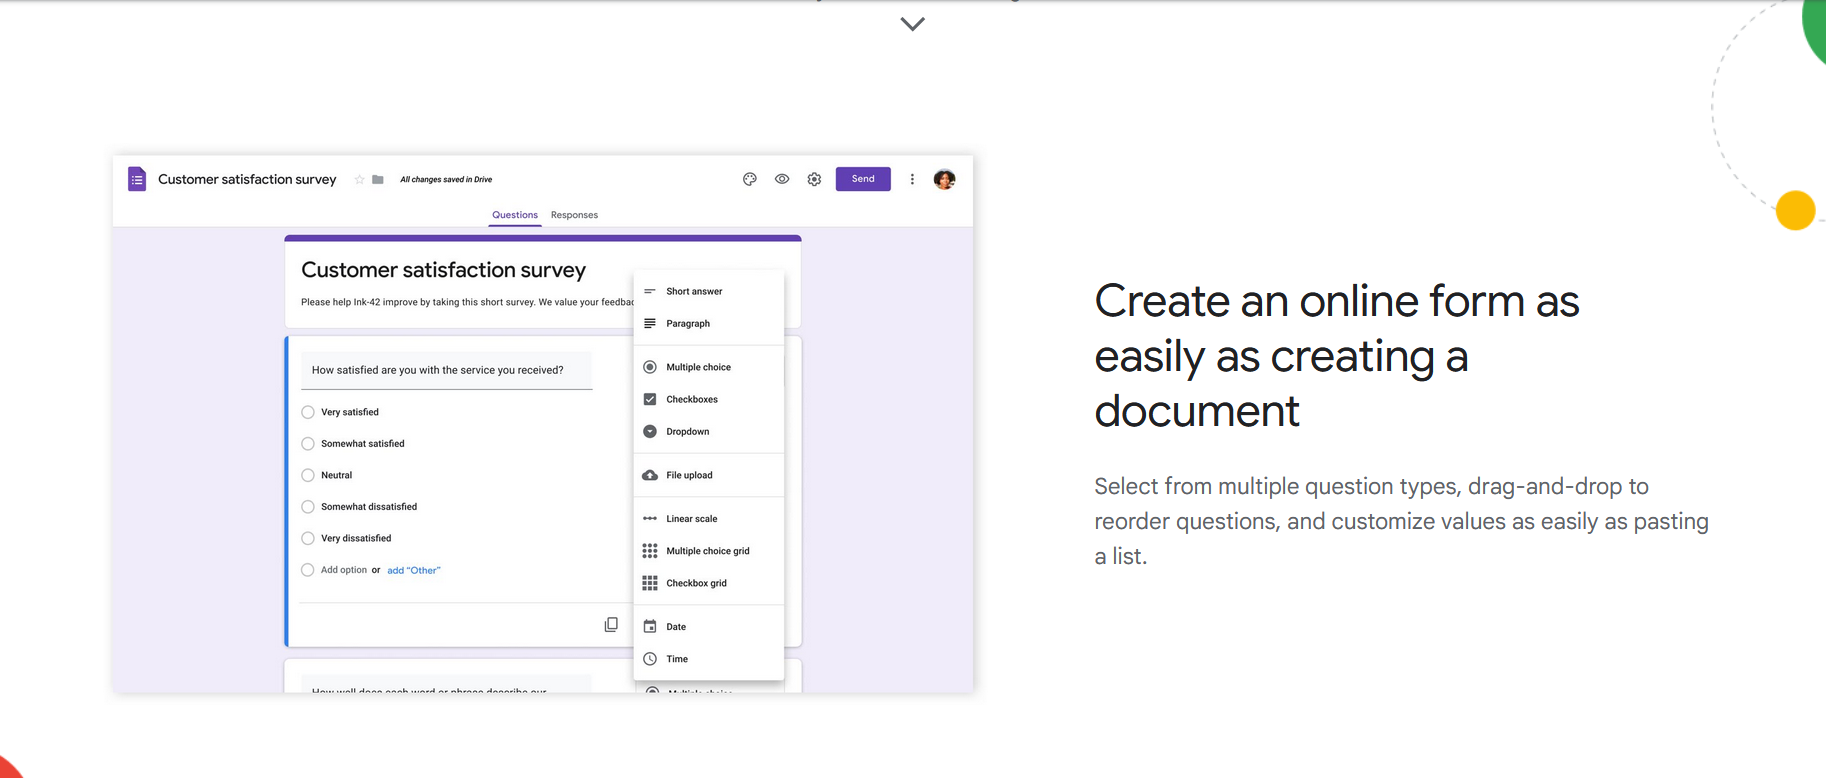
Google Forms, part of the suite of tools offered by Google, is a versatile and user-friendly application for creating forms, surveys, quizzes, and more. It’s like having a personal assistant who specializes in gathering and organizing information.
The beauty of Google Forms lies in its simplicity and efficiency. With a spontaneous user interface and an open selection of question types, from multiple-choice to open-ended responses, Google Forms allows you to tailor your data collection to your specific needs.
Why Google Forms for Your WordPress Site?
- Ease of Use: Google Forms is incredibly straightforward to set up. You don’t need any coding skills or special software – just a Google account and a dash of creativity.
- Customization: Although easy to use, Google Forms offers a range of customization options. You can tweak the form to match your brand, choose different themes, or even add images and videos.
- Real-time Data Collection and Analysis: As responses come in, Google Forms organizes them in real-time. You can view them in neat charts or export the data for further analysis.
- Cost-Effective: Google Forms is a free tool. It’s perfect for WordPress website owners who need a reliable form solution without additional costs.
- Integration and Collaboration: Google Forms integrates seamlessly with other Google apps like Sheets and Drive. Plus, you can collaborate with team members on form creation and data analysis.
- Accessibility and Responsiveness: Forms created with Google Forms are accessible across devices, ensuring a smooth experience for your audience, whether they’re on a desktop or a mobile device.
In the next section, we’ll walk you through how to embed these functional and versatile forms into your WordPress site, making your website not just a platform for content but also a hub for interaction and information gathering.
Creating Your Google Form

Before you can embed a Google Form into your WordPress site, the first step is to create one. This process is surprisingly simple yet offers a range of options to make your forms both functional and attractive.
Let’s walk through the steps to create forms that you can later embed into your site.
Step 1: Access Google Forms
- Open Google Forms: Navigate to the Google Forms website. If you’re not already logged in, you’ll need to sign in with your Google account.
- Start a New Form: Once you’re in, you can start a new form from scratch or choose from a variety of templates. For a custom touch, click on the plus icon for a blank form.
Step 2: Design Your Form
- Add Questions: Click on the ‘plus’ button to add different types of questions – from multiple-choice to open-ended text responses. Tailor these to the specific information you need to gather.
- Customize Form Settings: Take advantage of the customization options. Add a title description, and customize the look of your form by changing the color theme or adding a header image.
- Configure Form Options: Set up how you want responses to be handled. You can opt to collect email addresses, limit to one response per person, or shuffle question order.
Step 3: Prepare to Embed Google Form
- Finalize Your Form: Once your form is set up and you’re happy with the questions and layout, preview it to ensure it looks and functions as expected.
- Get the Embed Code: Click on the ‘Send’ button at the top right of the form, then choose the ‘< >’ embed icon. This will provide you with the HTML code needed to embed your Google Form into your WordPress site. Adjust the width and height as needed, then copy the embed code.
In just a few easy steps, you have a Google Form ready to be embedded into your WordPress site. The beauty of Google Forms lies in its flexibility and ease of use, making it a valuable tool for any site owner.
In the next section, we’ll cover how to take this form and seamlessly integrate it into your WordPress website.
Embedding the Google Form in WordPress

Easily embedding Google Forms into your WordPress site opens a world of possibilities, from creating engaging registration forms to connecting with Google Drive and Google Sheets for data management.
Whether it’s a new Google Form you’ve just crafted or an existing one from your collection, the process is straightforward and user-friendly.
- Access the Google Form: Open the Google Form you want to embed. This can be a form you’ve just created or an existing form from your Google Drive.
- Copy the Embed HTML Code: Click on the ‘Send’ button in the higher right corner of the form, then select the ‘< >’ icon for embedding. This will show you the embed HTML code. Adjust the width and height as necessary to fit your site’s design, then copy the code.
- Embed in WordPress Post or Page: In your WordPress dashboard, head to the post or page where you want to embed the form. Use the ‘Custom HTML’ block to paste the copied embed code.
- Preview and Adjust: After embedding, preview the post or page to see how the form appears on your site. You may need to go back and adjust the size or style within the embed code to ensure it fits well with your page layout.
- Connecting with Google Sheets: For added functionality, you can connect your form to Google Sheets for automatic data collection and organization, a useful feature for managing responses efficiently.
By understanding these easy steps, you can easily embed Google Forms into your WordPress site, enhancing your web pages with versatile, interactive forms.
Whether for gathering feedback, conducting surveys, or streamlining registration processes, Google Forms seamlessly integrates into your site, providing a smooth experience for both you and your audience.
Customizing the Form Appearance in WordPress

Once you have your Google Form embedded into your WordPress site, you might want to tweak its appearance to better fit your page’s layout and design.
Whether it’s an existing Google Form or a new one, WordPress allows for easy customization using the Custom HTML block.
- Adjust Size and Style: After embedding the Google Form, you can adjust its size directly in the Custom HTML block. Alter the width and height values in the HTML code to ensure the form fits neatly within your page’s layout.
- Styling with Additional CSS: For further customization, such as adding borders, changing background colors, or modifying fonts, you can use additional CSS.
Add custom CSS styles in your theme’s stylesheet or in the Additional CSS segment of the WordPress Customizer.
- Responsive Design Considerations: Ensure that the Google Form embedded on your site is responsive and displays well on all devices. You might need to use media queries in your CSS to adjust the form’s appearance on different screen sizes.
- Testing on Different Devices: After making adjustments, preview your page on various devices to ensure the form is seamlessly integrated and maintains a consistent look and feel with the rest of your site.
By customizing the embedded Google Form using the Custom HTML block and additional CSS, you can create a more integrated and visually appealing experience for your users.
This step is crucial in maintaining the professional appearance of your WordPress site while harnessing the functionality of Google Forms.
Final Thoughts: How To Embed A Google Form In WordPress

Mastering how to embed a Google Form in WordPress is a skill that can significantly enhance the functionality and interactivity of your site. Whether it’s for gathering feedback, conducting surveys, or managing event registrations, Google Forms offers a flexible and user-friendly solution.
By embedding Google Forms into your WordPress site, you not only streamline the process of data collection but also ensure a seamless and integrated user experience.
It’s important to remember that in today’s digital landscape, a significant portion of web traffic comes from mobile devices. Therefore, ensuring that your embedded Google Forms are responsive and displayed correctly on all devices is crucial.
A well-embedded form should provide a smooth and hassle-free experience, whether accessed from a desktop, tablet, or smartphone.


